
Recently I got a wild hair and decided to install Zorin OS (a derivative of Ubuntu) on an old laptop I had lying around for 10 years. This laptop was previously serving as a Windows 10-based server and acting as my network controller with the UniFi Controller software from Ubiquiti installed. I have used Ubiquiti products on my network for over seven years now and would have it almost no other way.
My network is rock solid, even when the UniFi Controller is unavailable for (sometimes) weeks at a time. Their products are remarkable and getting better all the time. I do not make a penny from them–they just make ridiculously good products. I consider them the Apple of networking.
Since I moved the laptop over to Zorin OS, things have been a lot more stable with the older hardware. Windows 10 was advancing ahead of the components in the laptop and causing instability at random points. Sometimes the laptop would not boot after a Windows Update and force me to repair it. Sometimes the screen would turn on and not turn off for hours at a time or until it was rebooted. As you might imagine, for a laptop that is accessed remotely and only occasionally, this started to become an issue with each Patch Tuesday. So, I decided to go full-Linux and not look back. It was the best decision I could have made. I will list the hardware below, for those so curious.
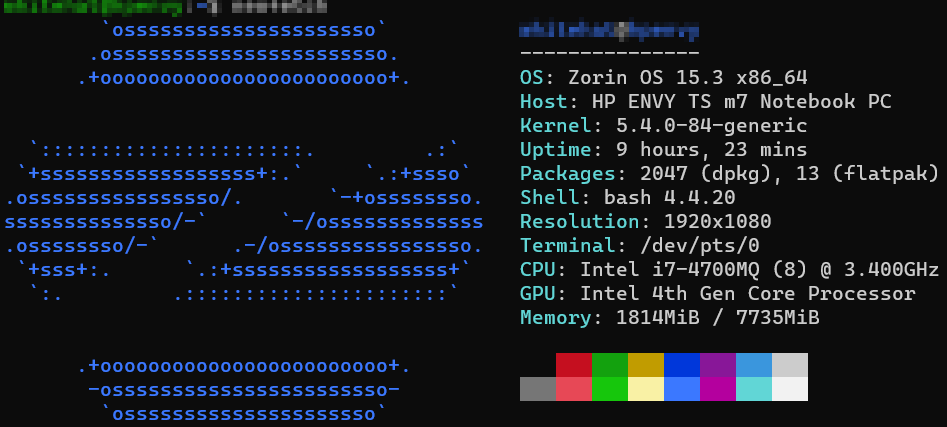
- Zorin OS 15.3
- HP ENVY TouchSmart m7 Notebook
- Intel Core i7-4700MQ @ 2.4-3.4 GHz (4p/8v cores)
- Intel HD Graphics 4600
- 8 GB RAM
- 500 GB SSD (aftermarket)
- Intel 2×2 802.11/b/g/n WLAN
After installing Zorin OS, I had the task of installing the Ubiquiti UniFi Controller software on the system. This being Linux, of course I was going to do it all through the CLI in an SSH session! So, for my own documentation and to help those that might be facing the same seemingly monumental task, I have written out what I did.
Installation Procedure
Let’s get to the good part: how I did it. I will write down the commands here for my environment, but they can be modified for other, similar environments. This is for Zorin OS, an operating system based on Ubuntu. The first seven steps are documented on Ubiquti’s site. Far more detail can be found on the original page. I have merely re-represented them in this post for easier follow-through.
sudo apt update && sudo apt install ca-certificates apt-transport-httpsecho 'deb https://www.ui.com/downloads/unifi/debian stable ubiquiti' | sudo tee /etc/apt/sources.list.d/100-ubnt-unifi.listsudo wget -O /etc/apt/trusted.gpg.d/unifi-repo.gpg https://dl.ui.com/unifi/unifi-repo.gpgsudo apt-mark hold openjdk-11-*sudo apt update && sudo apt install unifi -ysudo service unifi startsudo service unifi status
Configure Firewall
I have had an update wipe out my firewall configuration on Zorin OS, so I have created a script to put the rules back in place. Below I will walk through the instructions.
Ensure you are in a directory where you have adequate permissions to save a new file. You can use the pwd command to see where you are located and get to your home directory by typing cd ~/.
Also, edit the lines in the script below to match your network segment. My network is small and simple, just a private, Class C block.
- Create a new file in which to put our BASH commands
nano add_firewall_rules_unifi.sh
- Add the following lines to the add_firewall_rules_unifi.sh script
#!/bin/bash

sudo ufw allow from 192.168.1.0/24 proto udp to any port 3478
sudo ufw allow from 192.168.1.0/24 proto udp to any port 5514
sudo ufw allow from 192.168.1.0/24 proto tcp to any port 8080
sudo ufw allow from 192.168.1.0/24 proto tcp to any port 8443
sudo ufw allow from 192.168.1.0/24 proto tcp to any port 8880
sudo ufw allow from 192.168.1.0/24 proto tcp to any port 8843
sudo ufw allow from 192.168.1.0/24 proto tcp to any port 6789
sudo ufw allow from 192.168.1.0/24 proto tcp to any port 27117
sudo ufw allow from 192.168.1.0/24 proto udp to any port 5656:5699
sudo ufw allow from 192.168.1.0/24 proto udp to any port 10001
sudo ufw allow from 192.168.1.0/24 proto udp to any port 1900
sudo ufw allow from 192.168.1.0/24 proto tcp to any port 22- Press Ctrl+O to write the file out and press Ctrl+X to exit nano
- Make the file executable by typing
chmod u+x nano add_firewall_rules_unifi.sh - Run the file by typing
sudo add_firewall_rules_unifi.sh
You will see feedback in the console for each rule added successfully, which should be all of them. Duplicate rules will be skipped.
Accessing the UniFi Controller
If everything is working as expected, accessing the web server is easy. You need the IP address of the system, which can be found with a simple command in Zorin OS: ip address. One of the adapters listed will have your local IP address. Take the IP and format it as a URL:https://192.168.1.89:8443
That’s it! Login with your Ubiquiti credentials.
Closing
Let me know if this was helpful to you. You can send me an email at darrellwmoore [@] me.com or drop a comment below. I’m likely to see the email first, though.